- You are here:
- Home »
- Home Articles »
- How Often Should You Clean a Blender
How Often Should You Clean a Blender

As an Amazon Associate I earn from qualifying purchases.
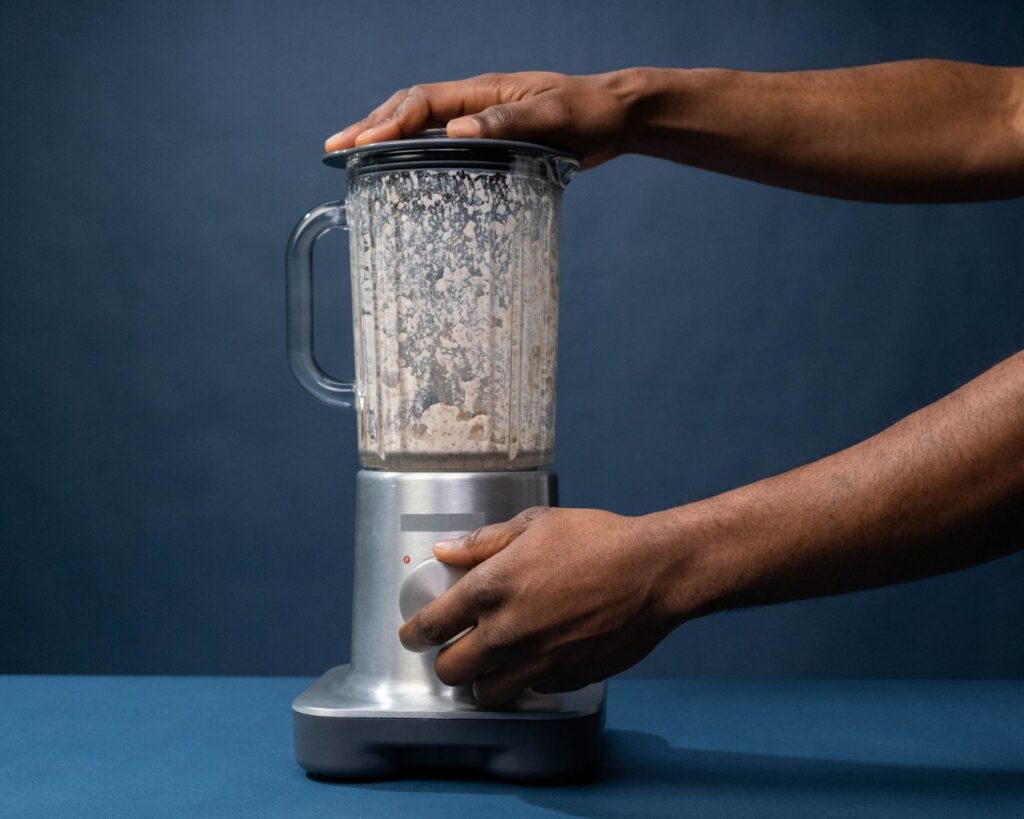
Cleaning a blender feels simple — rinse, dry, move on. But many blender problems don’t come from how you clean it; they come from how often you clean it. Residue, moisture, and trapped food particles build up gradually, even when the jar looks perfectly fine.
Knowing how often you should clean a blender helps prevent smells, performance issues, and unnecessary wear. Clean it too infrequently, and residue quietly accumulates. Clean it too aggressively or too often, and seals and components can wear out faster than expected.
This guide focuses on cleaning frequency — not step-by-step cleaning methods. It’s designed to help you find a routine that keeps your blender hygienic, reliable, and easy to maintain over time.
In this guide
Why Cleaning Frequency Matters
Most blender issues don’t begin with a broken motor or cracked jar. They start quietly, with residue that’s left behind again and again. A quick rinse removes visible mess, but thin films of food, oil, and moisture often remain around the blade base and seals.
Blenders are especially prone to this kind of buildup. They combine moisture, warmth, and fine food particles — the perfect conditions for residue to cling and odors to form. Because the effects are gradual, it’s easy to miss the connection between infrequent cleaning and later problems.
As residue accumulates, circulation inside the jar becomes less efficient. The motor has to work harder to move ingredients, which increases internal heat. Over time, this extra strain can lead to symptoms that seem unrelated at first, like unpleasant smells or a blender that feels unusually warm. This chain reaction is explained in more detail here: why blenders smell like burning.
Cleaning frequency isn’t about making the blender sparkle. It’s about interrupting this slow buildup before it affects hygiene, performance, or component lifespan. When the timing is right, deeper cleaning becomes less frequent — and problems are far easier to avoid.
Daily, Weekly & Monthly Cleaning Explained
Cleaning a blender doesn’t mean treating every use the same way. What matters most is matching the level of cleaning to how often the blender is used and what goes into it. A light smoothie leaves behind very different residue than thick nut butters or soups, and cleaning frequency should reflect that reality.
For most households, daily cleaning simply means preventing residue from drying. A quick rinse or wash after use keeps food from hardening around the blade base and jar walls, which is where buildup usually starts. This step alone reduces how often deeper cleaning becomes necessary later on.
Weekly cleaning adds a bit more attention. Even when a blender is rinsed daily, thin films can still form in hard-to-see areas. A more thorough wash once a week helps reset hygiene and keeps odors from developing, especially if the blender is used frequently.
Monthly or occasional deep cleaning isn’t about routine — it’s about response. If smells linger, the jar looks cloudy, or residue appears beneath the blade assembly, that’s when deeper cleaning becomes appropriate. Rather than guessing, this guide explains when and how to take that extra step safely: how to deep clean a blender.
Thinking in terms of daily, weekly, and condition-based cleaning helps avoid extremes. You’re not under-cleaning and allowing buildup to snowball, and you’re not over-cleaning parts that don’t need constant stress. That balance is what keeps a blender reliable without turning maintenance into a chore.
If you use your blender daily, keeping a simple rule helps: rinse immediately after every use, wash thoroughly once a week, and deep clean only when you notice odor, cloudiness, or residue under the blade. This prevents buildup without over-stressing seals and parts.
Signs You’re Not Cleaning Often Enough
Blenders usually give subtle warnings when cleaning frequency isn’t keeping up with use. These signs don’t point to a broken appliance, but to residue slowly interfering with normal operation. Because they develop gradually, many people overlook them until bigger problems appear.
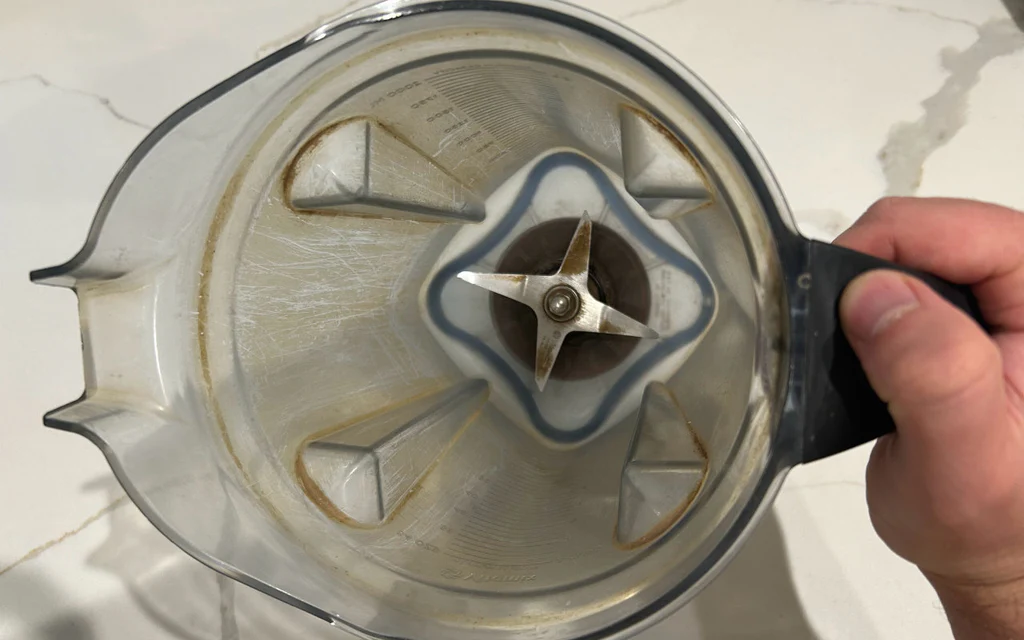
Persistent smells are often the first clue. If unpleasant odors remain even after rinsing or light washing, residue is likely trapped beneath the blade assembly or around the gasket. These hidden areas stay damp longer, allowing smells to linger and intensify over time.
Cloudy jar walls are another common signal. A hazy film that doesn’t rinse away indicates thin layers of buildup accumulating between uses. While it may look harmless, this residue affects circulation and makes future cleaning more difficult.
Changes in blade movement can also reveal a cleaning gap. If the blades feel slightly sticky, resist turning by hand, or don’t spin as freely as they once did, residue is often the cause. That added resistance forces the motor to compensate during blending.
Can You Clean a Blender Too Much?
It sounds counterintuitive, but cleaning a blender too aggressively can create problems of its own. While residue buildup causes obvious issues, excessive force, harsh products, or constant disassembly place unnecessary stress on parts that are designed to remain seated and undisturbed most of the time.
One common issue is over-tightening components after frequent washes. When the blade assembly is repeatedly removed and reattached, it’s easy to tighten past what’s necessary. Over time, this compresses gaskets beyond their recovery range, making them less effective and more prone to leaks.
Harsh detergents can also accelerate wear. Strong degreasers and abrasive cleaners strip protective finishes and dry out rubber seals, especially when used repeatedly. Parts may look clean, but their lifespan quietly shortens with each aggressive wash.
Unnecessary disassembly compounds the problem. Breaking the blender down after every use increases the chance of misalignment, cross-threading, or uneven pressure on seals. Many cleaning issues come not from neglect, but from doing too much, too often.
Overcleaning with harsh methods can shorten gasket life and lead to leaks or alignment issues.
These patterns aren’t unique to blenders. They’re part of a broader set of habits that unintentionally damage kitchen appliances, which is why guides like mistakes cleaning kitchen appliances focus on behavior rather than individual parts.
How Storage Affects Cleaning Frequency
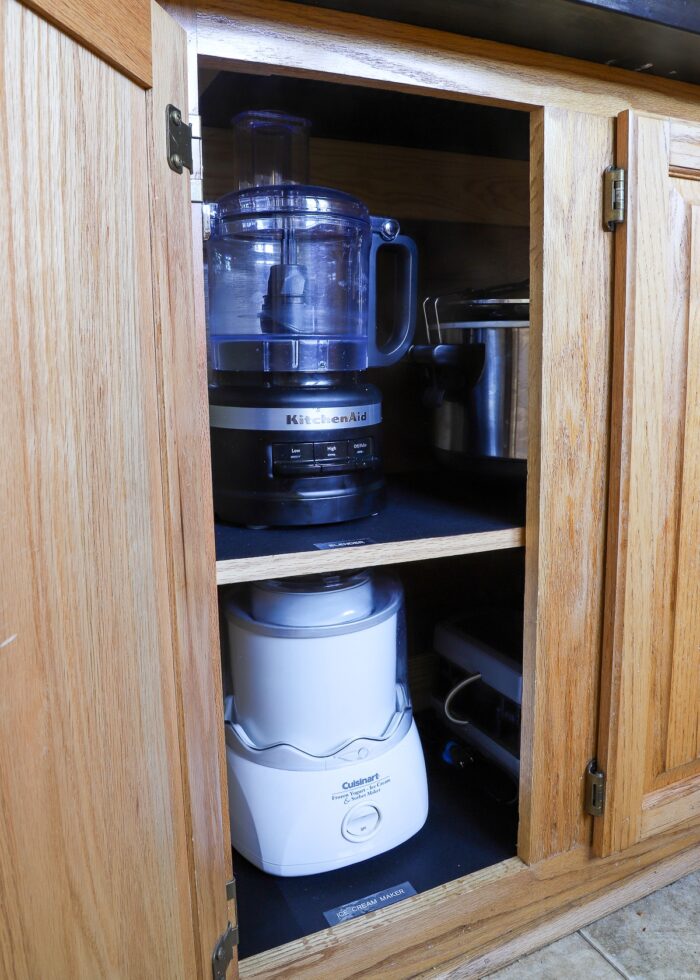
How and where a blender is stored plays a larger role in cleaning frequency than most people expect. Even a well-cleaned blender can develop odors or residue faster if moisture and airflow aren’t managed properly between uses.
Storing a blender jar while it’s still damp creates the perfect environment for smells to develop. Moisture trapped around the blade base or gasket encourages residue to linger, which means the blender will need deeper cleaning more often to stay fresh.
Airflow matters just as much. Cabinets with poor ventilation trap humidity, slowing evaporation and allowing odors to settle into plastic and rubber components. Over time, this makes routine rinsing feel ineffective, even when cleaning habits haven’t changed.
Positioning also makes a difference. Upright storage allows moisture to drain naturally, while tilted or upside-down placement can pool water around seals. Simple adjustments like storing jars upright and dry are part of broader strategies outlined in storing kitchen appliances smartly .
A Simple Blender Cleaning Schedule You Can Stick To
The most effective cleaning routines are consistent, not intense. Instead of scrubbing aggressively or disassembling frequently, a simple rhythm keeps the blender clean without stressing its components.
- After every use: Rinse or wash the jar promptly to prevent residue from drying and sticking.
- Weekly: Wash all removable parts thoroughly to remove invisible film and light buildup.
- Monthly or condition-based: Deep clean only when you notice odors, cloudiness, or resistance around the blade.
This approach prevents buildup while avoiding unnecessary wear. Consistency protects performance better than occasional, aggressive cleaning sessions.
Frequently Asked Questions
How often should you clean a blender used daily?
A blender used daily should be rinsed after each use, washed thoroughly once a week, and deep cleaned only when signs like odor or residue appear.
Is rinsing enough between uses?
Rinsing is usually sufficient between light uses, but it doesn’t replace regular washing. Residue can still build up over time if rinsing is the only cleaning method.
Does blending smoothies versus soups change cleaning frequency?
Yes. Thick smoothies, nut butters, and protein blends leave more residue than thin soups or liquids, which means they often require more frequent washing.
Can poor cleaning cause smells or overheating?
Yes. Residue around blades increases resistance, forcing the motor to work harder. This can lead to odors, heat buildup, and reduced performance over time.
Amazon and the Amazon logo are trademarks of Amazon.com, Inc, or its affiliates.
