
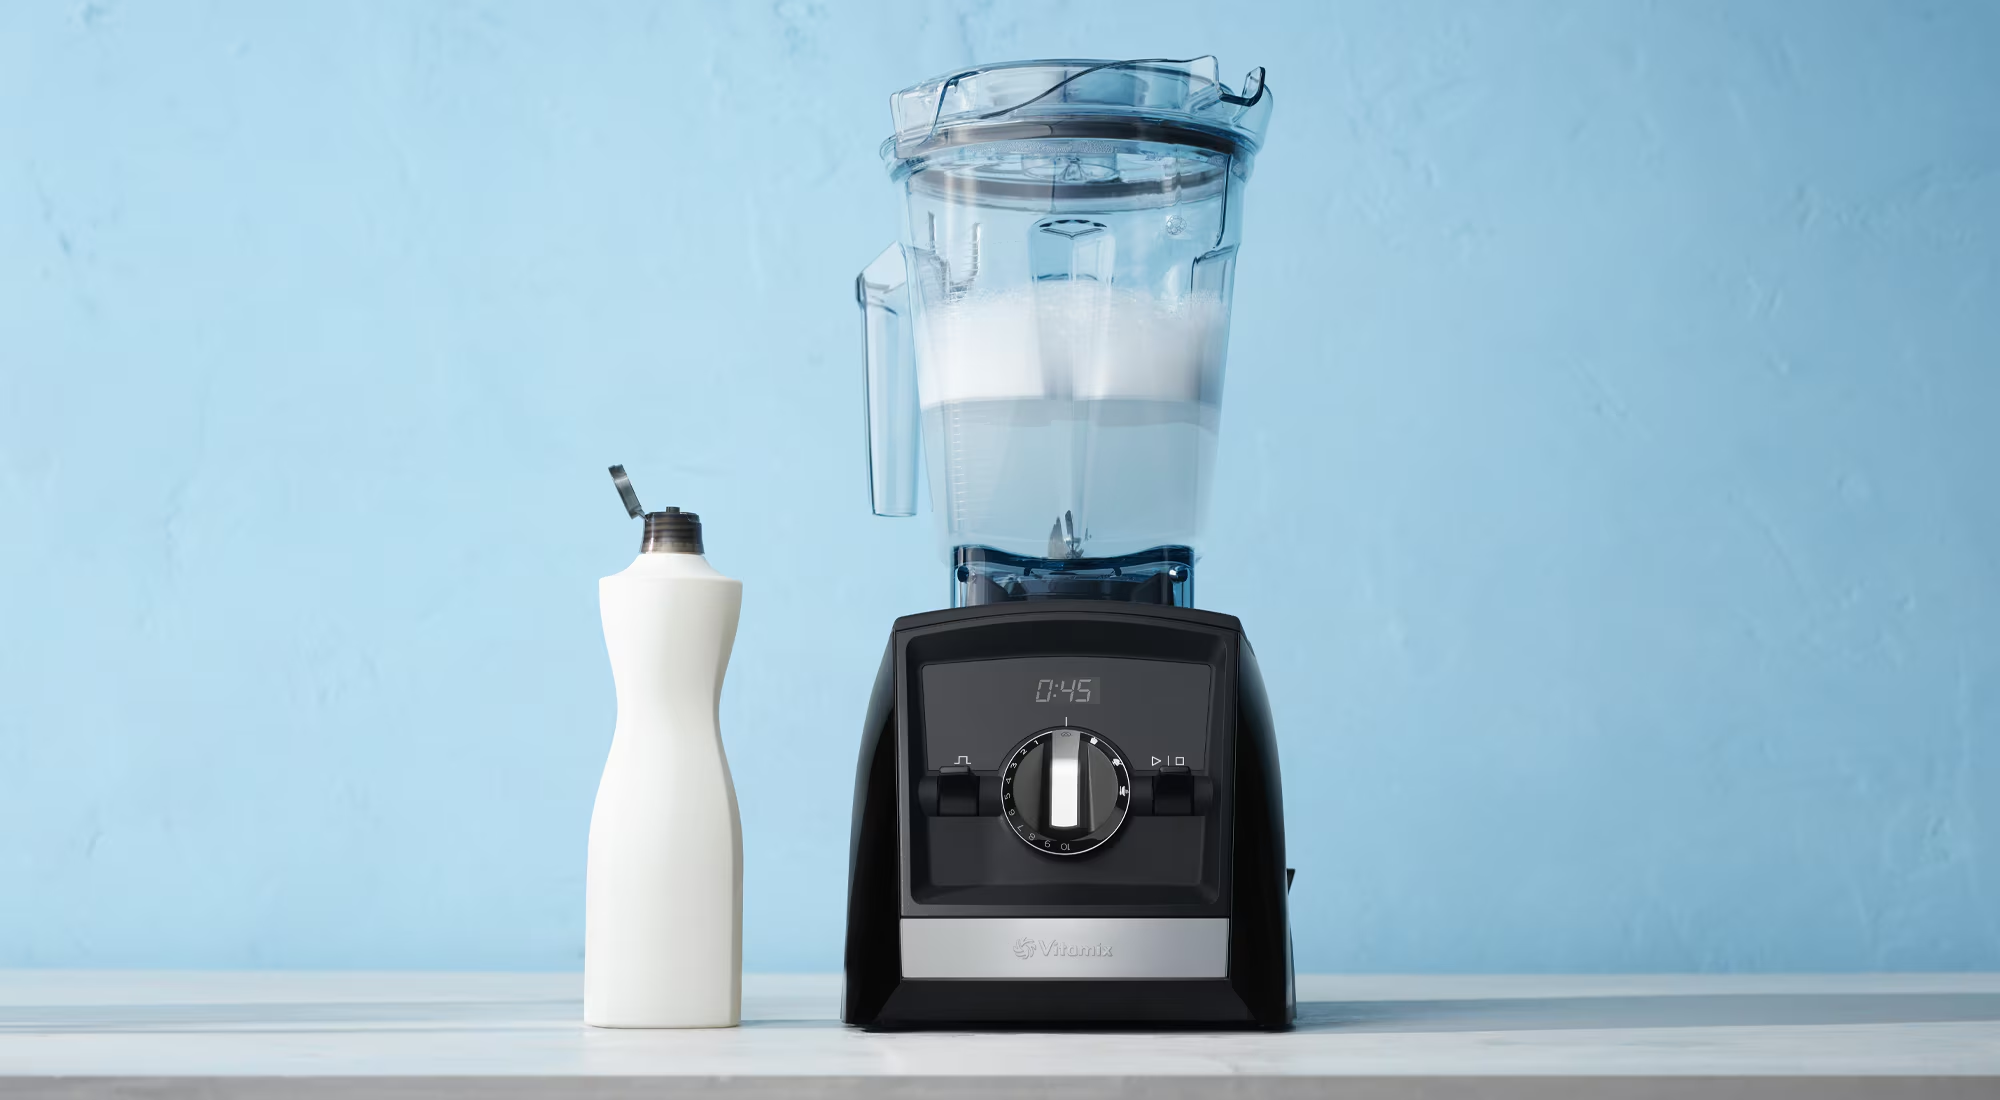
Introduction
When you’re blending smoothies for the kids, pureeing soup for dinner, or making pancake batter on a busy weekend morning, your blender quietly becomes one of the hardest-working tools in your kitchen. But all that daily use can leave behind sticky residue, trapped food, and stubborn smells — especially around the blades and under the gasket where you can’t see it at first glance.
Deep cleaning your blender isn’t just about making it look shiny on the counter. According to the CDC’s guidance on food safety, keeping kitchen tools properly cleaned is an important step in reducing bacteria and cross-contamination. A well-cleaned blender helps protect your family from hidden germs and keeps every recipe tasting exactly the way it should.
If you’re looking for ways to keep your blender running smoothly over the long term, we’ve already covered that in our dedicated Blender Maintenance Tips guide. This article focuses entirely on deep cleaning: the step-by-step process you can follow to reset a grimy blender back to fresh, clean, and ready for anything.
Why Deep Cleaning Your Blender Matters
Most of us give the blender a quick rinse after use, and on busy days that’s absolutely better than nothing. But over time, that “quick rinse only” routine allows a thin film of residue to build up inside the jar, around the blades, and in the tiny spaces under the gasket. That’s where smells, stains, and even bacteria can quietly collect.
A proper deep clean helps you:
- Remove hidden buildup that regular rinsing can’t reach.
- Prevent off-flavors in smoothies, sauces, and baby food.
- Reduce lingering odors from garlic, onions, or strong spices.
- Protect the blades and seals, so they last longer and perform better.
What You’ll Need
You don’t need any special cleaning products to deep clean a blender. In fact, you probably have everything you need in your kitchen right now.
- Warm water
- Dish soap (a few drops go a long way)
- White vinegar or baking soda (for odors and cloudiness)
- Soft sponge or bottle brush
- Small cleaning brush or old toothbrush
- Microfiber cloth or clean kitchen towel
Step-by-Step Deep Cleaning Instructions
Step 1 – Pre-Rinse the Blender
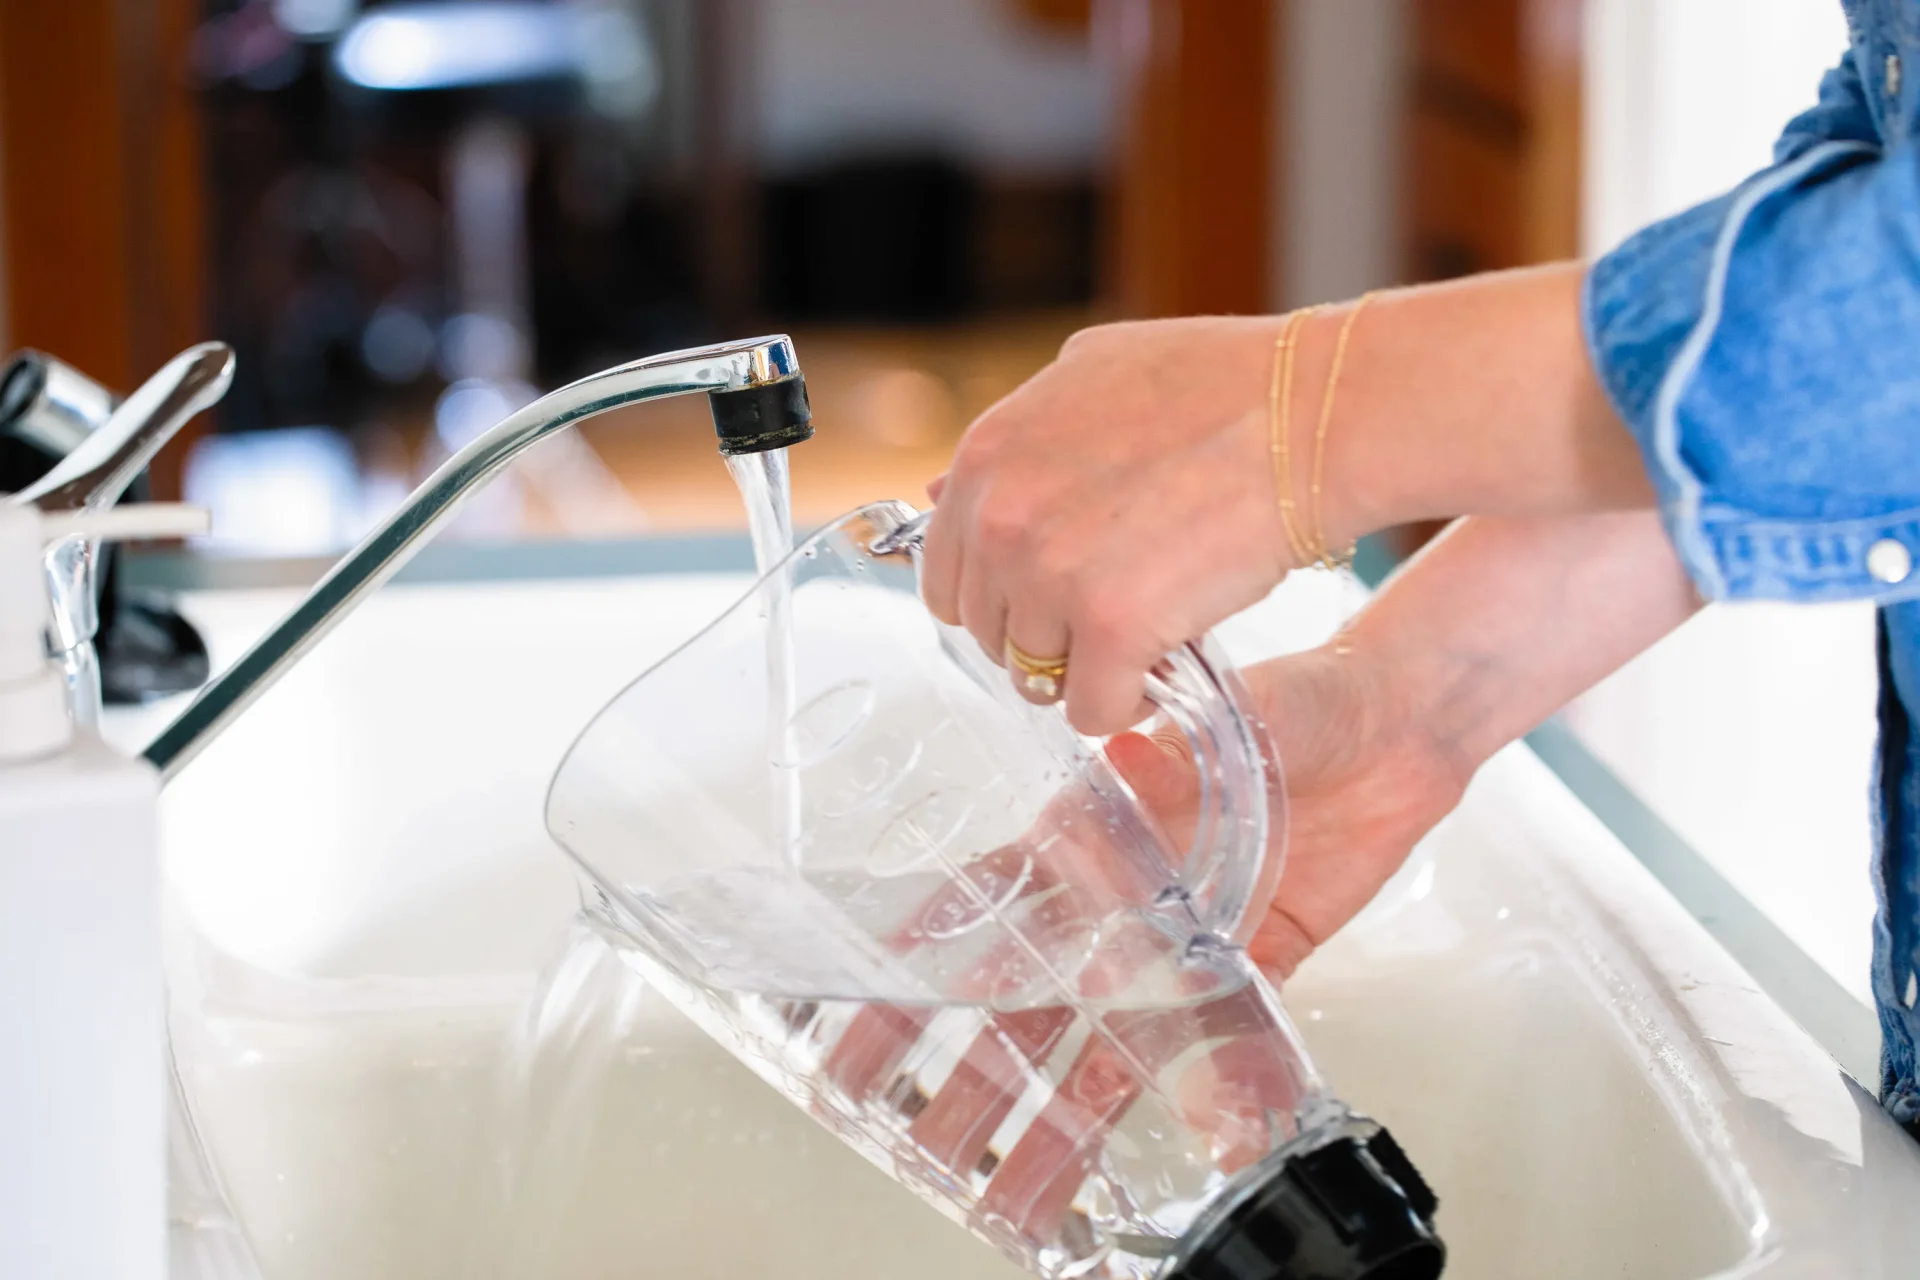
Right after you finish blending, resist the urge to let the blender “sit for later.” That’s when residue has the best chance to dry and harden. Instead, give it an immediate pre-rinse. Fill the jar halfway with warm water, swish it around, and pour it out. Do this once or twice until you’ve removed most of the loose food.
If you’re coming back to a blender that’s already dried and crusty, don’t panic. Fill the jar halfway with warm water again, add just a tiny drop of dish soap, and let it soak for 10–15 minutes before you move on to the next step. This softens stuck-on residue so you won’t need to scrub as hard later.
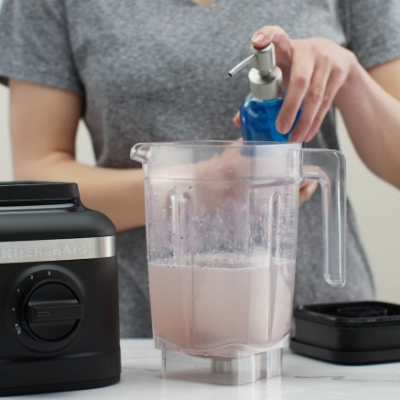
Step 2 – Run a Quick Soap Cycle
Next, turn your blender into its own mini dishwasher. Fill the jar about one-third to halfway with warm water and add a small squeeze of dish soap — you only need enough to make light suds. Secure the lid and blend on low to medium speed for 20–30 seconds.
This soapy blend cycle sends warm, soapy water swirling around the blades, into the corners, and up the sides of the jar. It’s especially helpful if you’ve blended sticky ingredients like nut butters, ice cream, or thick smoothies.
When the cycle is done, carefully remove the jar from the base, pour out the soapy water, and give it a quick rinse with clean warm water. At this point, the blender should already look noticeably cleaner, but the deep clean really happens in the next steps.
Step 3 – Disassemble the Blender
Now it’s time to take everything apart. Remove the lid, center cap (if your lid has one), gasket or sealing ring, blade assembly, and any detachable base components. Check your blender’s manual if you’re unsure which parts are removable — every model is a little different.
This step is easy to skip, but it’s one of the most important parts of a true deep clean. Food often gets trapped under the gasket and around the blade base, where it’s almost impossible to reach during a quick rinse.
Once everything is separated, set the parts on your prepared towel or tray. If you’d like tips on how often to replace gaskets or what to watch for as your blender ages, you’ll find more details in our in-depth Blender Maintenance Tips guide.
Step 4 – Deep Clean Each Component
With the blender fully disassembled, it’s time to give each part individual attention. Start with the jar: use a soft sponge or bottle brush and a few drops of dish soap to gently scrub the inside and outside. Pay special attention to the bottom corners, where residue can settle.
Next, clean the lid, center cap, and gasket. These pieces often collect splashes and tiny bits of food that you don’t always notice. Use an old toothbrush or small cleaning brush to get into grooves, seams, and rubber folds. For the blade assembly, hold it carefully by the base and scrub around the blades and threads, working slowly and gently.
Step 5 – Clean the Base Safely
The motor base should never go into the sink or dishwasher. Instead, unplug the blender and wipe the base with a slightly damp microfiber cloth. This removes splashes, fingerprints, and light food residue without exposing the motor to moisture.
Use a small brush or a wooden skewer wrapped with a bit of cloth to carefully clean around buttons, dials, and seams. If you see dried-on spills, press the cloth over the spot for a few seconds to soften it before gently wiping it away.
Step 6 – Air Dry and Reassemble
When you’re finished scrubbing and rinsing, place all the parts — jar, lid, cap, blade assembly, and gasket — on a clean dish rack or towel and let them air dry completely. Trapped moisture is one of the most common reasons for musty smells and cloudy film inside blenders.
Once everything is fully dry, reassemble the blender in the reverse order you took it apart. Double-check that the gasket is seated correctly and that the blade assembly is firmly attached. A properly reassembled blender is less likely to leak and will feel more solid and secure when you use it next.
How to Fix a Cloudy Blender Jar Naturally
Even after a good wash, some blender jars still look cloudy or dull. This is usually caused by mineral deposits from hard water or a thin layer of residue that has built up over time. The good news is that you can usually fix this without harsh chemicals.
Try one of these gentle, kitchen-friendly methods:
- Vinegar soak: Fill the jar halfway with warm water and add 1/2 cup of white vinegar. Let it soak for 15–30 minutes, then scrub lightly and rinse.
- Baking soda paste: Mix baking soda with a little water to form a paste and apply it to cloudy areas. Let it sit for 10 minutes before scrubbing and rinsing.
- Combo clean: Sprinkle baking soda into the jar, add a splash of vinegar, let it fizz, then scrub and rinse thoroughly.
Common Mistakes to Avoid
A blender is fairly simple to care for, but there are a few common mistakes that can shorten its life or make cleaning harder than it needs to be.
- Submerging the base: Placing the motor base in water can damage the electronics and create a safety hazard.
- Using harsh abrasives: Steel wool and very rough scrub pads can scratch plastic and even some glass jars, making them harder to clean over time.
- Reassembling while damp: Trapped moisture under the gasket can cause musty smells and encourage buildup.
- Ignoring the gasket: That thin rubber ring does a lot of work. If it’s never cleaned, it can trap food and odors.
Prevention & Odor Control
Once your blender is freshly deep cleaned, a few simple habits will help you keep it that way without feeling like you’re constantly scrubbing. Think of this as your “light touch” routine between deeper cleans.
- Rinse right away: Even if you can’t wash it fully, always do a warm-water rinse after blending.
- Soap cycle after sticky recipes: If you’ve made nut butter, ice cream, or cheese sauces, run a quick soapy blend cycle immediately.
- Deodorize occasionally: Once a month, do a vinegar soak if you cook a lot with strong flavors like garlic or curry.
- Watch the gasket: If it looks cracked, flattened, or smells bad even after cleaning, it may be time to replace it.
For long-term care and performance tips, including when to replace parts and how to avoid overworking the motor, be sure to read our full Blender Maintenance Tips guide. And if you’re tackling other messy appliances around your stove, our article on how to clean grease off kitchen appliances can help you keep everything looking and smelling fresher.
Conclusion
Deep cleaning a blender can sound like a chore, but once you’ve done it once or twice, it becomes a simple little routine that pays off in a big way. Your smoothies taste cleaner, your sauces don’t pick up surprise flavors, and your kitchen smells fresher overall.
With just warm water, a bit of dish soap, and a few pantry basics like vinegar and baking soda, you can reset even a well-used blender back to “almost new.” Combine this deep-clean routine with good day-to-day habits, and your blender will stay ready for everything from breakfast smoothies to cozy winter soups.
If you love having reliable small appliances in your kitchen, you may also enjoy our Coffee Grinder Buying Guide, where we walk through what to look for in a grinder that fits your family’s daily routine.
FAQ
Blender Deep Cleaning FAQ
How often should I deep clean my blender?
If you use your blender every day, aim for a deep clean about once a week. If you only blend occasionally, deep clean it whenever you notice cloudiness, odors, or stuck-on residue.
Can I put blender parts in the dishwasher?
Many jars and lids are labeled dishwasher-safe, but always check your manual first. Even when parts are dishwasher-safe, handwashing the blades and gasket can help them last longer and stay sharper.
How do I remove cloudy stains from a blender jar?
Cloudiness is often caused by mineral deposits or built-up residue. A vinegar soak or baking soda paste usually clears it. If the jar stays cloudy even after a few treatments, the plastic may simply be worn.
Is it safe to clean my blender with baking soda and vinegar?
Yes, used separately or in small amounts together, baking soda and vinegar are safe and effective for most blender jars. Just be sure to rinse thoroughly with clean water afterwards so no taste or residue remains.
Amazon and the Amazon logo are trademarks of Amazon.com, Inc, or its affiliates.
