
If your kitchen counters feel crowded and your cabinets are always overstuffed, you’re not alone. Most families struggle with where to store kitchen appliances—especially as blenders, air fryers, stand mixers, and coffee makers slowly multiply over time.
The solution isn’t buying more cabinets. It’s learning how to store kitchen appliances smartly so everything stays accessible, protected, and out of the way when you don’t need it.
In This Guide
Why Smart Appliance Storage Matters
How you store your kitchen appliances affects more than how your kitchen looks. It directly impacts safety, workflow, and how easy it is to cook day after day—especially in busy family homes.
- Frees up valuable counter space for prep and serving
- Prevents cord damage and motor strain
- Reduces lifting injuries from heavy appliances
- Makes cooking feel calmer and more organized
Sort Appliances by How Often You Use Them
This is the most important step—and the one most people skip. If appliances aren’t sorted by how often you use them, no storage system will feel comfortable long term.
Start by laying out your appliances (or listing them on paper) and grouping them into three categories:
- Daily-use appliances: coffee maker, toaster, electric kettle, blender
- Weekly-use appliances: stand mixer, air fryer, food processor, slow cooker
- Occasional or seasonal appliances: waffle maker, ice cream maker, specialty grills
Daily-use appliances should live in the easiest-to-reach locations—either on the counter or in a nearby lower cabinet. If you have to move three things just to get to your coffee maker, that’s a sign it’s stored in the wrong place.
Weekly-use appliances can sit slightly farther back or lower, but still within comfortable reach. These are items you don’t use every day, but often enough that digging for them becomes frustrating.
Occasional appliances belong in higher cabinets, deep pantry sections, or storage areas outside the main cooking zone. Storing them out of the way keeps prime cabinet space free for what you actually use.
In small kitchens, you may need to rotate appliances seasonally. Store winter baking tools together, then switch them out for summer appliances when your cooking habits change.
Create Simple Appliance Zones
Once appliances are grouped by frequency, the next step is zoning. Appliance zones reduce unnecessary movement and make your kitchen easier to use—especially when more than one person is cooking.
An appliance zone simply means keeping related tools together near where they’re used most. You don’t need perfect symmetry or custom cabinetry to make zones work.
- Coffee or breakfast zone: coffee maker, grinder, toaster, mugs, sweeteners
- Baking zone: stand mixer, measuring cups, baking pans, mixing bowls
- Meal prep zone: blender, food processor, cutting boards, prep tools
When appliances are zoned properly, cooking feels smoother and less chaotic. You’re not constantly crossing the kitchen or opening multiple cabinets just to complete one task.
This also makes it easier for family members to help. When everything needed for breakfast or baking lives in one area, anyone can step in without asking where things are stored.
- Splitting one zone across several cabinets
- Storing plug-in appliances far from outlets
- Grouping appliances by size instead of purpose
Zones don’t need to be perfect. Even loosely grouping appliances by task can dramatically improve how functional your kitchen feels.
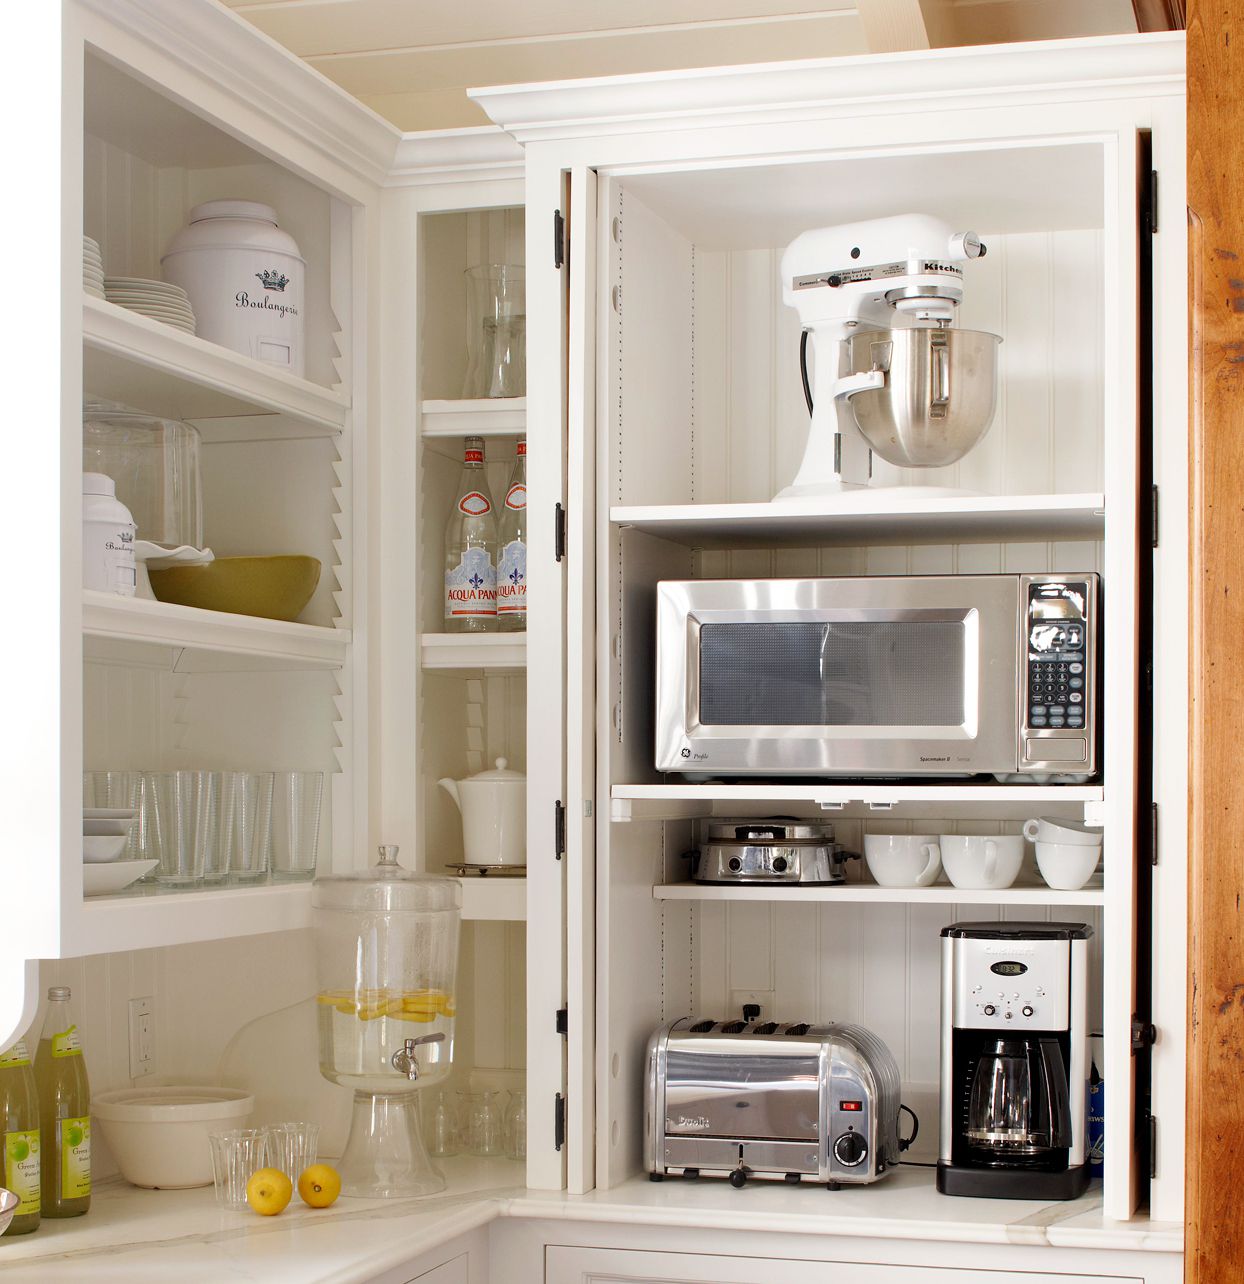
Store Heavy Appliances Safely
Heavy kitchen appliances are often the most awkward and risky to store. Stand mixers, food processors, air fryers, and large blenders can easily cause strain if they’re lifted from high shelves or pulled out from the back of deep cabinets.
The safest option is to store heavy appliances at waist height, ideally on pull-out shelves or in lower cabinets where you can slide them forward instead of lifting them straight up.
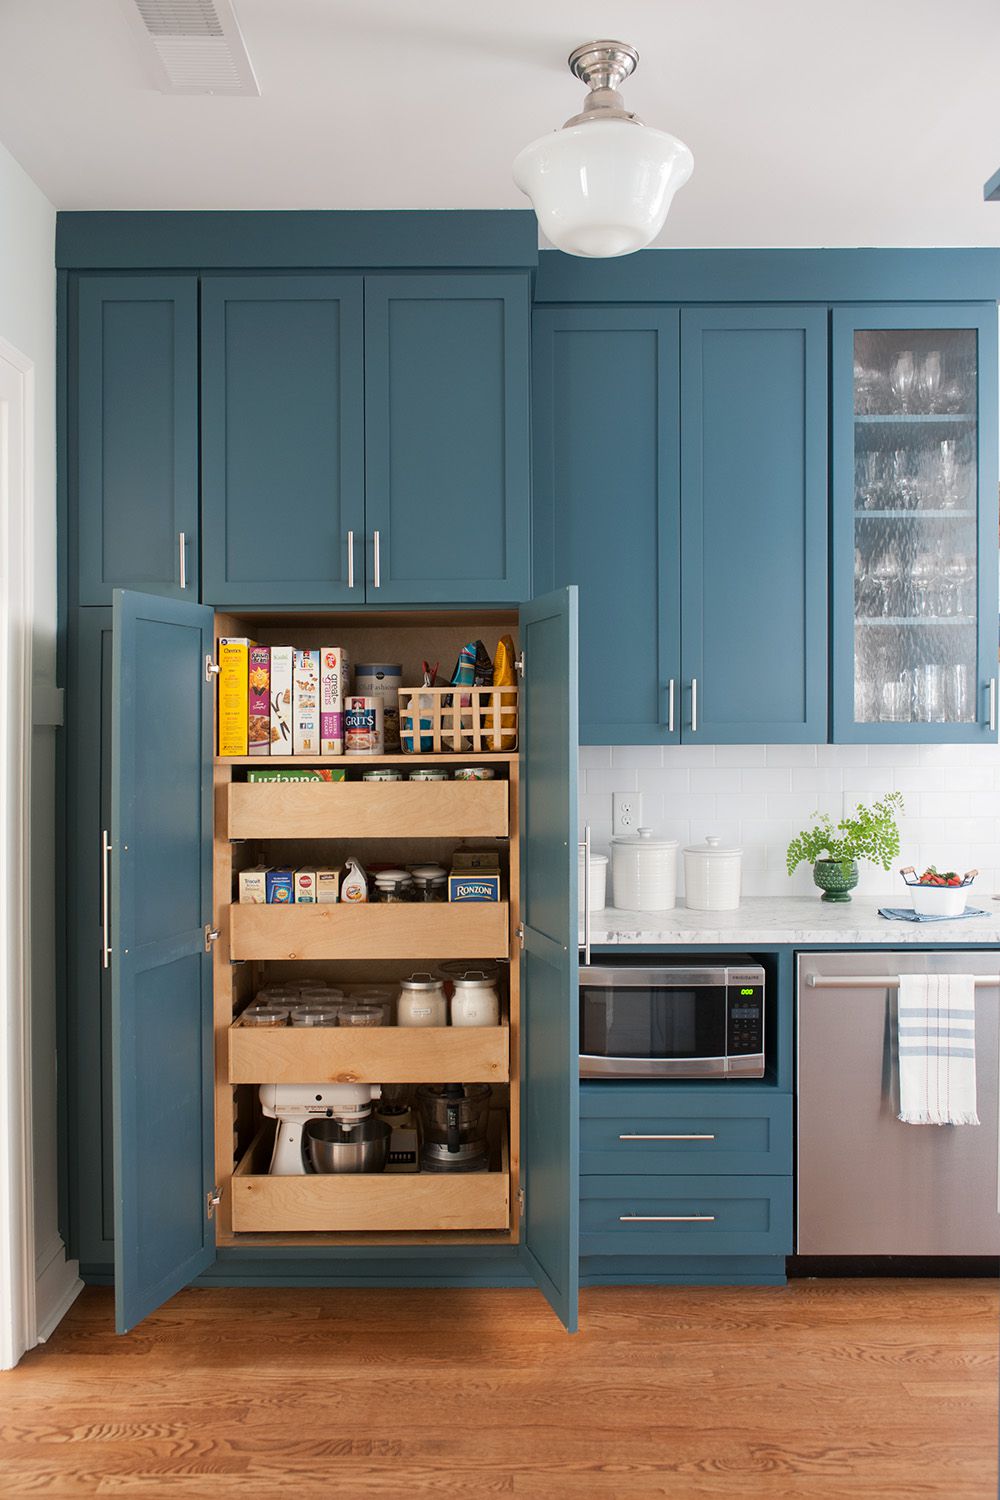
If pull-out shelves aren’t an option in your kitchen, focus on placing heavy appliances in the most accessible lower cabinet you have. Even moving one heavy item down from an overhead shelf can significantly reduce daily strain.
- Always use two hands when lifting heavy appliances
- Make sure shelves are securely mounted and rated for weight
- Avoid stacking heavy appliances on top of each other
When planning your storage layout, it also helps to think about which appliances are truly essential. Exploring your most-used tools in the kitchen essentials section can help you prioritize cabinet space more effectively.
Use Vertical Storage for Seasonal Appliances
Not every appliance needs easy access all year long. Some tools are used only occasionally, depending on the season, your cooking habits, or special occasions.
Appliances like waffle makers, ice cream makers, bread makers, and specialty grills work best when stored vertically in tall cabinets, pantry sections, or deep shelves.
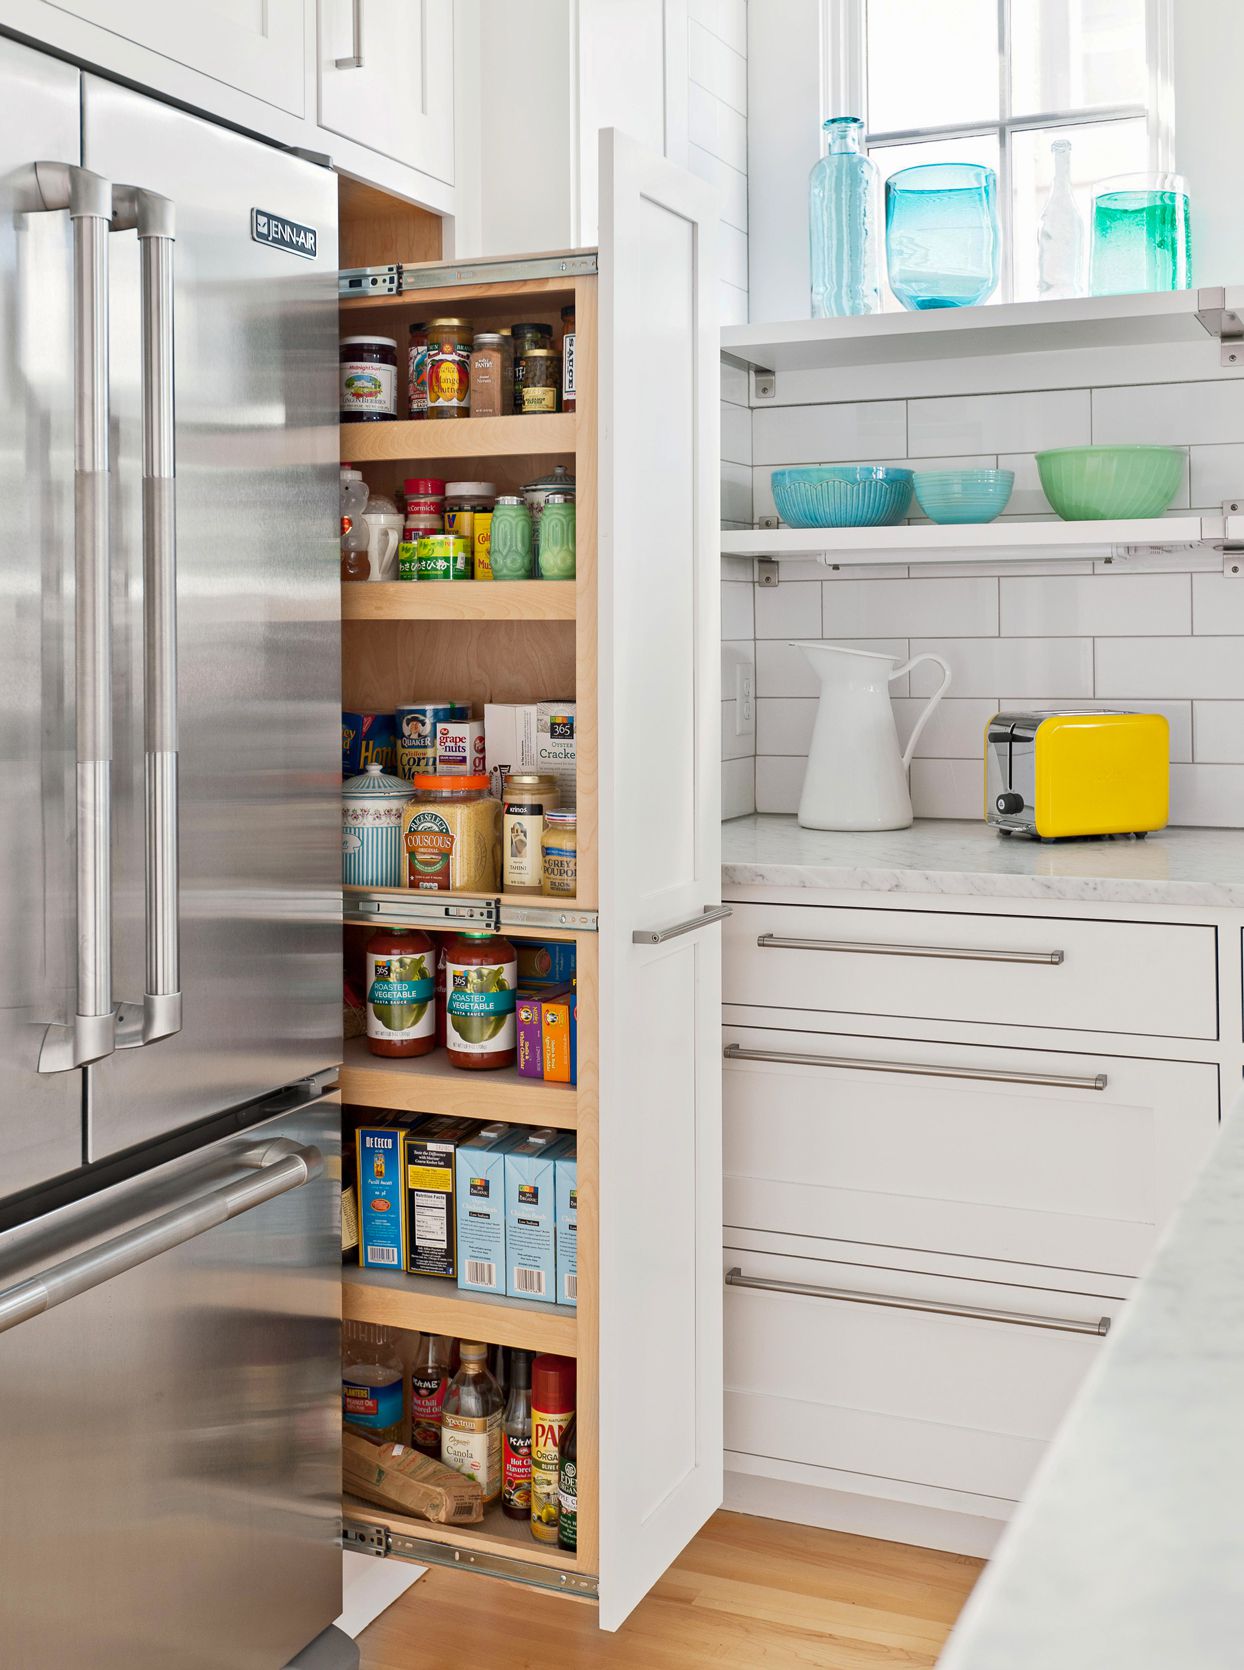
Using vertical dividers or simple shelf organizers keeps appliances upright and prevents them from tipping over. This makes it easier to see what you own and prevents forgetting about appliances stored out of sight.
Stand mixers often fall into the weekly-use category rather than daily use, which makes thoughtful storage especially important. If you’re choosing a mixer with cabinet space in mind, the guide to best stand mixers for baking under $200 can help you find compact, storage-friendly options.
- Appliances are similar in size and shape
- You can easily pull items straight out
- Items are stored clean and fully dry
Protect Appliances for Long-Term Use
Proper storage isn’t just about placement—it’s also about protection. Even appliances stored inside cabinets can collect grease, dust, or moisture over time.
Before storing any appliance, take a moment to wipe it down. Crumbs, oil residue, and moisture can shorten the lifespan of motors and electrical components if left unchecked.
- Use appliance covers for items that stay on the counter
- Store smaller appliances in labeled bins to keep cabinets tidy
- Wrap cords loosely to avoid stressing internal wiring
- Always unplug appliances before storing
- Never store appliances while damp
- Avoid tight cord wrapping around the base
Establishing a quick “clean before storing” habit can dramatically extend the life of your appliances and keep cabinets fresher over time.
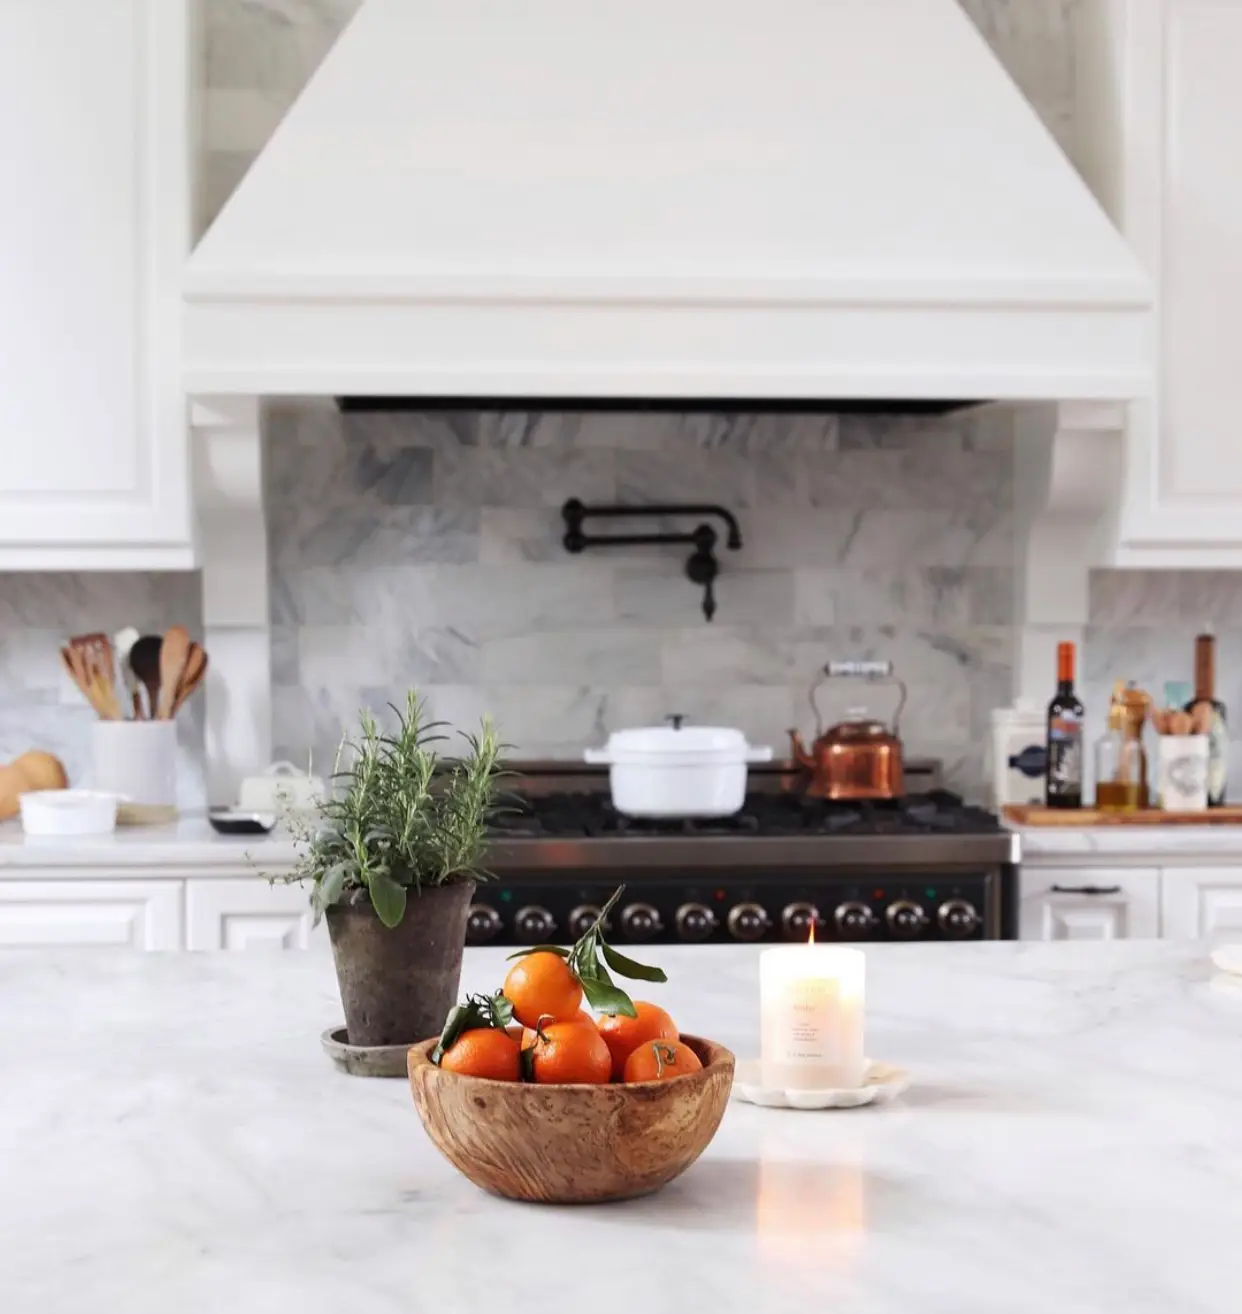
Final Thoughts: A Calmer Kitchen Starts With Smart Storage
Storing kitchen appliances smartly isn’t about creating a picture-perfect kitchen. It’s about building habits that make your space safer, easier to use, and more comfortable for everyday cooking.
Many of the practices covered in this guide—such as keeping appliances away from heat sources, avoiding tangled cords, and reducing clutter around plug-in devices—align closely with kitchen appliance safety guidance from the U.S. Fire Administration. Thoughtful storage doesn’t just improve organization; it also helps lower fire risks and makes daily kitchen routines safer.
By sorting appliances by frequency, creating clear zones, storing heavy items at safe heights, and protecting cords and surfaces, you can reduce clutter while making your kitchen a more reliable and stress-free place to cook—no extra space required.
Frequently Asked Questions
What’s the safest way to store heavy kitchen appliances?
The safest option is to store heavy appliances in lower cabinets or on pull-out shelves at waist height. This minimizes lifting strain and reduces the risk of accidents.
Should everyday appliances stay on the counter?
If you use an appliance daily and it doesn’t crowd your workspace, it can stay on the counter. Otherwise, store it in a nearby cabinet for easy access.
How do I store appliances in a small kitchen?
In small kitchens, prioritize daily-use appliances and rotate seasonal items. Vertical storage, labeled bins, and pull-out shelves can make a big difference.
How can I keep appliance cords organized?
Use cord wraps or soft ties and wrap cords loosely. Avoid wrapping cords tightly around the base, which can damage internal wiring.
How often should I reassess appliance storage?
Revisit your appliance storage every six months. Donate or sell items you no longer use and adjust placement as your cooking habits change.